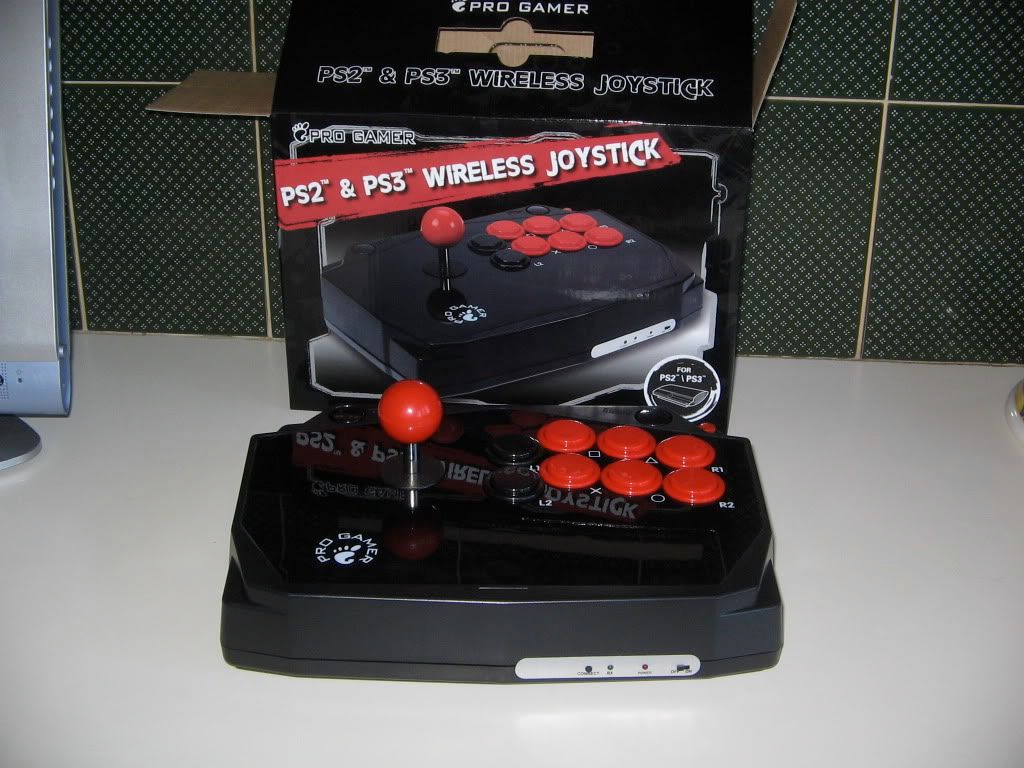

First item on the agenda. I am getting a Madcatz TE this week; its currently in the post on its way to me. The standard white.

Now its time to get some coloured buttons and artwork.
Tek innovations have this product for various sticks.

"The Regular TE Plexi-Cover fits snug inside the Bezel while sandwiching your art between the metal panel."
and custom dust washers either printed or etched


The etched ones look fucking schmick, but I can't think of what I would put on mine just yet. Maybe even just the capcom logo or something.
And of course there are the various colours of sanwa buttons/balltops. If you know some links to the kind that have a black ring but with a coloured button, then hook a brother up.
Ball tops: (there are also metallic, clear and clear bubbled balltops out there, i'll link them once I find them)


Buttons:


Now... onto my customization
I was thinking of using some art along these lines (I am still fiddling with the size/amount of characters/background texture but this is what I knocked up in a few mins using an existing pic from the ssfiv thread. I am thinking of having only the original 8 world warriors + the bosses so they can be much bigger)

With the top row of buttons dark blue, bottom row light blue and ball top clear blue. The 7th and 8th button will be filled in with button covers, though I'm wondering if I should cover them permanently and get a 6 button plexi(and of course use the stock plexi when I want to use 8 buttons). I was also thinking a similar config of buttons for a megaman themed background similar to the cover of this book

Another config I had in mind was yellow buttons and ball top with pacman themed art. Perhaps just a pacman maze redone to fit the TE dimensions. Or an all black background with a line of dots with pixelated pacman obviously following...perhaps some ghosts and fruit on the line too.

Due to the flexible nature of the TE stick all these mods are as simple as buying affordable replacement parts and slotting them in place; no soldering, no mess, no hassle. Though another joystick project I have had on the backburner for a while that has been plagued with procrastination(due to the retarded nature of the hori ex). I figured since adding sanwa part to it will be big job anyway I may as well go the full monty. I have created this wooden frame to rehouse my HORI EX2 (which btw was an absolute CUNT as my mitre box is extremely old and over used and I didn't have access to a drop saw at the time of being madly inspired to make this thing; you can see how shit my mitre joins are...but I will fill them up with putty and sand the shit out of the whole thing and it will still look nice I think)

Inside the frame will of course go the Hori PCB and ontop will be a metal plate with the buttons that will sit on the inner frame, and fall flush with the outer frame. I have a friend who will be able to laser cut this for me, I just need to send him the file in illustrator. I will therefore get him to also cut in the shapes of the shoryuken command symbols (forward arrow, down arrow, df arrow, fist) just to snaz up some of the empty space. Now the next part will be difficult to explain without a visual aid, but beneath the cutout holes for the shoryuken will be a metal plate of a different colour (either black or brass). I will then take some acrylic resin and layer it in the inlays until the resin is flush with the top plate. The end result will be 'glassy' clear acrylic resin filling the cutout inlays with a black/brass colour beneath them.
And obviously underneath the whole thing will be another metal plate and some rubber feet.
This pic will give you an idea of how the hori is put together how my plate although bigger than the original plate, will fit both the buttons/pcb but also fit flush in my frame

In this next pic you can see that the brown board at the top, is where the LB, back, Xbox, start and RB buttons are.

This next part is true stoner carpentry so excuse the idiocy you are about to read and my gibberish explanations...
I plan to cut this part of the stick away from the rest of the plastic. So, attached to my pcb and buttons will hang some wires and a piece of plastic with the brown board still screwed to it. With this, I can mount it within my wooden frame so that it faces outwards to one of the 'walls'; about 5mm away from sitting flush against it. If you are still following, I will then drill holes in the side of the frame. I will get some dowel to fit the holes and glue the dowel to the buttons with aryldite after sanding them flat. The dowel is basically just a wooden extender so you can access the buttons through the drilled holes. To the end of the dowel I will attach my own wooden buttons that I will carve myself. I will drill a larger hole from the outside but not go the entire way through; the result being a hole that the dowel sits in at its deepest point and at its shallowest will snuggly fit the wooden button and let it sit so it protrudes from the edge of the frame; and can be pressed like a button.
My other solution to the LB, Back, Xbox, start and RB buttons is to just cut a 'window' into the top plate and screw them beneath it, so you can still access them. But this will look so crappy IMO as it wont sit flush with the top plate.
Phew... that was a post of gamehed proportions. Perhaps actually laying all this info down for myself will help cull my procrastination.
If anyone has any other fighting stick/pad business they wanna discuss, do it here...or don't, I won't lose any sleep.
May as well recap from the other thread too
QANBA Q4 RAF. $165 from a bloke in melb; released before the end of march. Fixes the stick height of the Q3 but isn't wooden

get a qanba q3 for $145 from this bloke. its the same guy who had a display with them and was selling them at shadowloo showdown
http://www.ozhadou.net/forum/viewtopic.php?f=40&t=5423" onclick="window.open(this.href);return false;
he also has different coloured buttons and metalic/clear/coloured balltops if you feel like pimping it out.
or you can get this stick for $136 inc post http://cgi.ebay.com.au/XBOX-360-JOYSTIC" onclick="window.open(this.href);return false; ... 736wt_1054
I dont like this one because the start button is HUGE and right next to everything; its trouble waiting to happen.
or an sfiv 6 button pad for $65 inc post
http://cgi.ebay.com.au/MadCatz-Street-F" onclick="window.open(this.href);return false; ... 019wt_1054
or just get one of those fight pads with the microswitch nub for $97 inc post
http://cgi.ebay.com.au/Marvel-vs-Capcom" onclick="window.open(this.href);return false; ... 546wt_1054